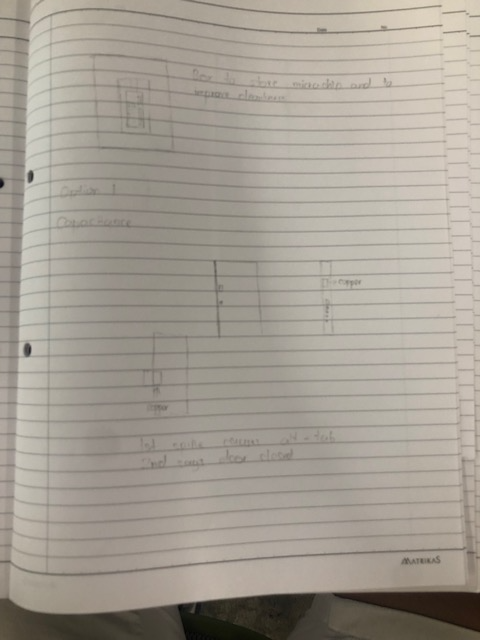
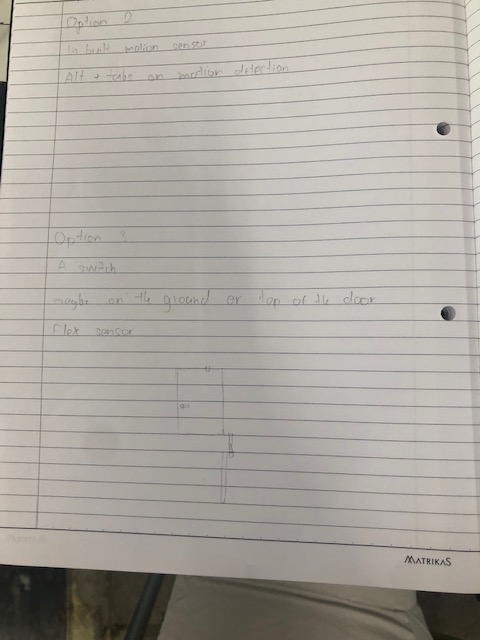
My plan for the final project is two machines put together. The first one is a device that alt+tabs on my computer when my room door opens. I have 3 options designed as showcased above
My first machine will work using a Hall Sensor and an ESP32, I will use the Hall sensor to send an inout to my computer about the door's position and then using that input, I can use the alt+tab function on my computer.
My second machine is a door closes that works on input from my computer
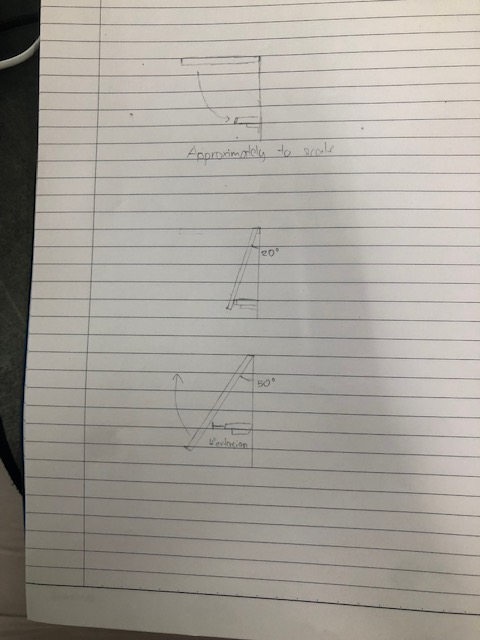
The main part of this door closer is the linear actuator. The calculations and measurements and listed below
The linear actuator design I looked at is 12"(11.9) inches long and can extend to 4 inches using 12V and 150lb of force

This linear actuator can push the door to 50* and momentum should take care of the rest according to my calculations
This video documents the basis of a linear actuator which is the main part I will use to create my door closerhttps://www.youtube.com/watch?v=e9V2GY1WaRU
After a lot of problems with my first idea, my second and final idea was something similar but better, this project is an alarm system with a keycard
The alarm system is a silent one along with a hidden camera to get footage and upload it so that the police can find this said burglar
My inspiration for this project happened during summer school when I left my computer open and went to drink water, and when I returned, someone had tampered with it and therefore, I wish to create more security
This final project has 3 major modules, a camera as mentioned before, a sensor to detect when someone opens or closes a door, and a card reader so that I do not trigger the alarm every time I wake into the room myself
The first module I would like to talk about is the sensor, it works using a magnet and a hall effect sensor
What is a Hall Effect Sensor?
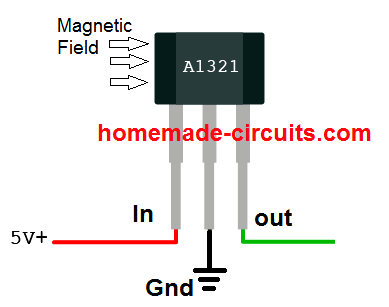
To put it simply, a Hall effect sensor is one which detects a change in a magnetic field and sends an electronic signal on detection of this change
I can trigger this sensor by simply attaching a magnet to the door which opens and just simply calibrating the sensor so that it can detect when the door opens and closes
To test it out, I initially coded it to say "Intruder Alert" wheneever it detects a change, and later, I coded it to change a variable on open and closure of the door so that it can keep track and then send said alarm
The circuit for the diagram is below
This is a video of the sensor giving me the "intruder alert" on detection of change in the magnetic field
If you wish to read more about Hall Effect Sensors, use the links below
https://www.electronics-tutorials.ws/electromagnetism/hall-effect.html
https://www.explainthatstuff.com/hall-effect-sensors.html
What is an RFID scanner
RFID stands for Radio Frequency Identity, It uses electromagnetic fields to transfer data over short distances. It is useful to identify people, to make transactions, etc.
You can use an RFID system to open a door. For example, only the person with the right information on his card is allowed to enter. An RFID system uses:
tags attached to the object to be identified, in this example we have a keychain and an electromagnetic card. Each tag has his own identification (UID) tags
two-way radio transmitter-receiver, the reader, that send a signal to the tag and read its response
Source : https://randomnerdtutorials.com/security-access-using-mfrc522-rfid-reader-with-arduino/
I used the code provided by randomnerdtutorials and then modified it to my liking to use in my final project
The video below shows testing of the RFID scanner
If you want to read more into RFID scanners, use the links below
https://www.abr.com/what-is-rfid-how-does-rfid-work/
https://electronics.howstuffworks.com/gadgets/high-tech-gadgets/rfid.html
ESP-32 CAM
Since people generally know what a camera is, I'm not going to go through the basics of a camera, but the point of using an ESP-32 camera is that an ESP-32 is a wifi enabled board that can stream data onto a site over a wireless connection therefore making it a lot easier to use
The ESP-32 comes in quite handy for me as I can access this over a live server and I can make a website to control this quite easily
To use the ESP-32 CAM, use this randomnerdtutorials link as it was extremely handy for me when wiring the ESP32-CAM
https://randomnerdtutorials.com/?s=esp32-cam
My final project video is below
https://youtu.be/9gW1azqV8X0The downloads to the code are below: